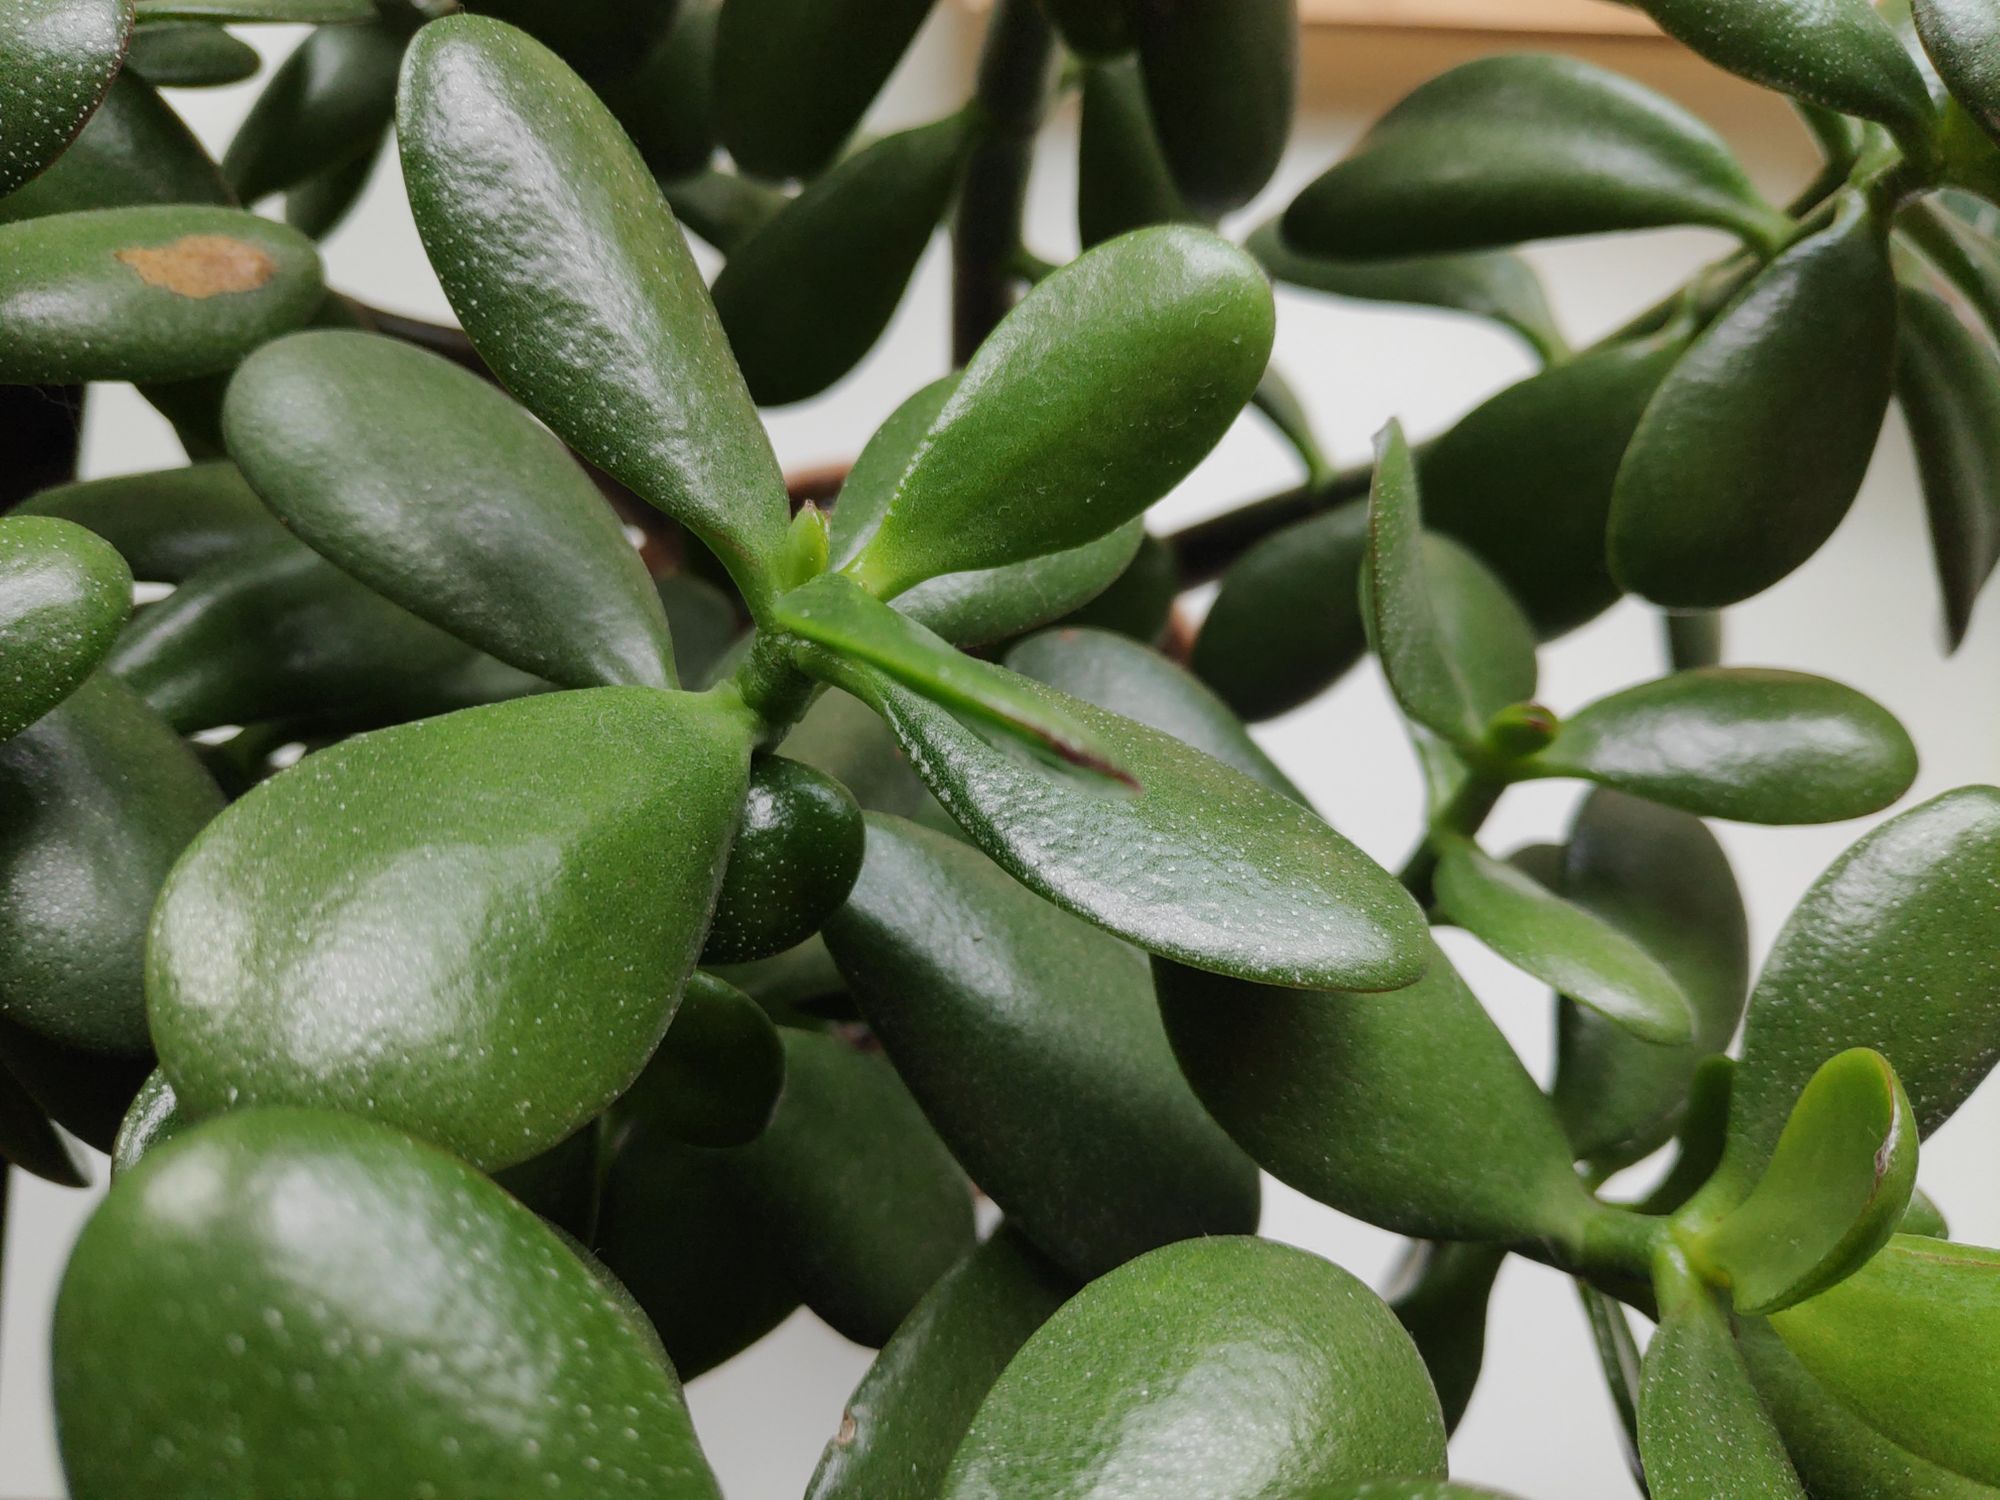
Succulents are some of the easiest plants to propagate. By taking only a few leaf cuttings, you can easily multiply your collection of these beautiful and rewarding plants.
Although there are many ways you can propagate succulents, this is the system that I personally use and has worked well for me.
Propagated plants are clones of the mother plant, so you can expect them to have similar properties.
This post primarily focuses on Jade plant propagation but, as you will see, the same system can be used for nearly any succulent.

Step 1: Take leaf cuttings
The first step to cloning your succulent is to take a leaf cutting. I recommend starting with removing only one or two leaves per plant until you are sure you know how to successfully root the cuttings.
To take a cutting, you may use sharp gardening sheers of a knife to cut the leaf. Make your cut as close to the main stem as possible to give your leaf the best chance of rooting.
If you are nervous about cutting your plants, you can also simply wait until you accidentally snap a leaf off. This is what I do, personally, and with lots of plants in close quarters it's not an uncommon occurrence!

Step 2: Place cuttings in soil
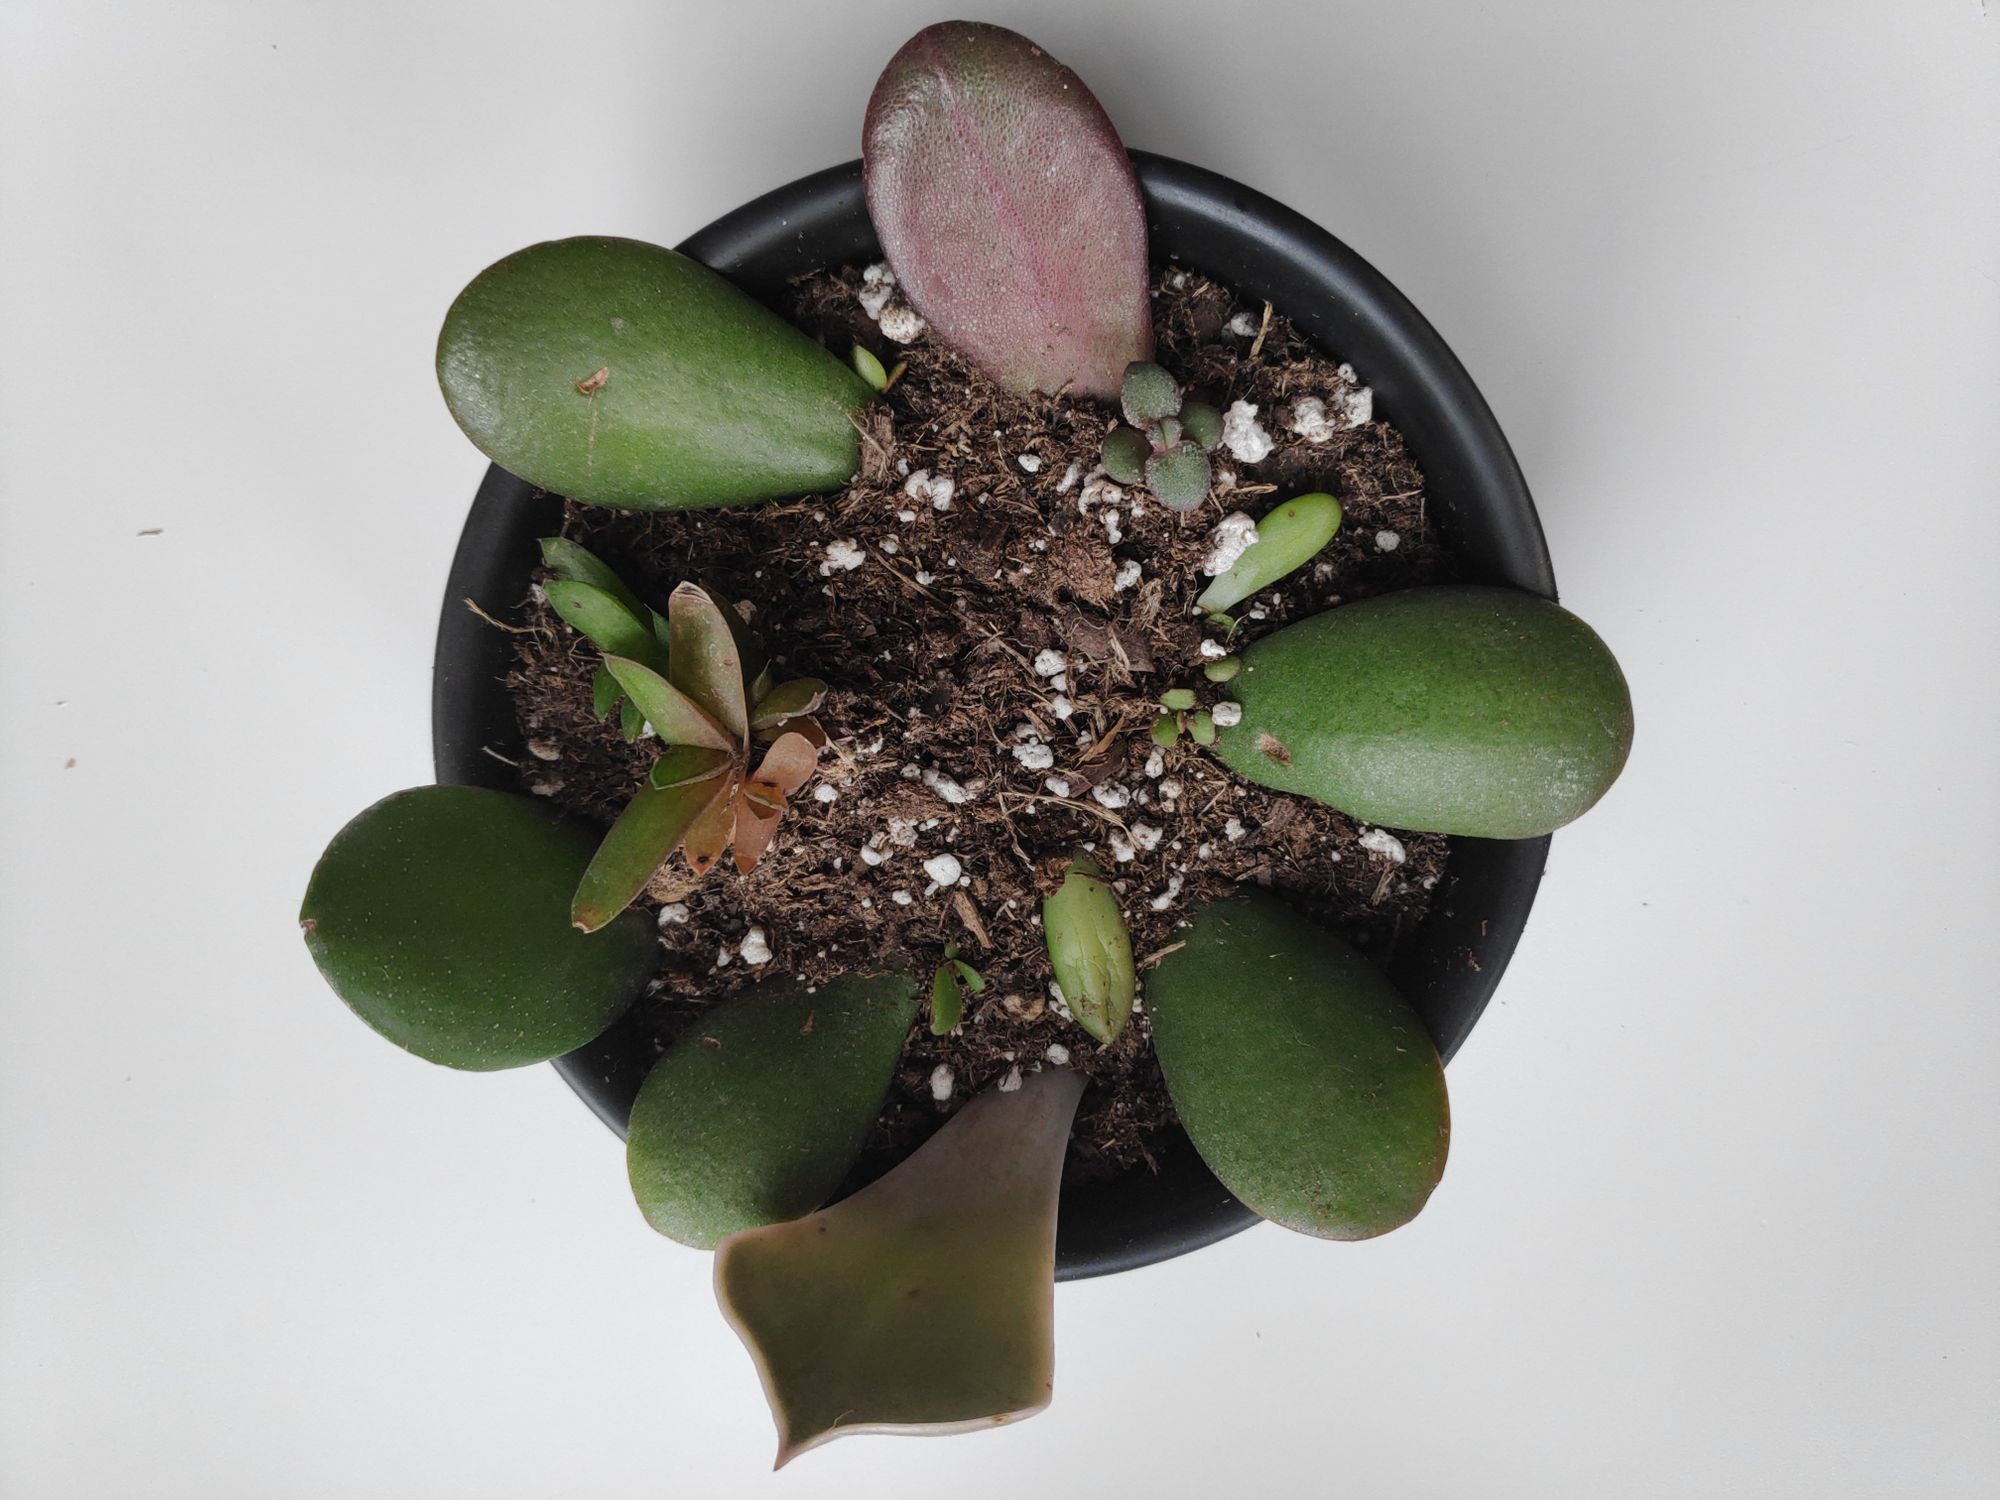
Once you have all your desired cuttings, place them on top of a well-draining succulent or cactus mix soil. I personally use this soil by Hoffman, and mix extra perlite into it.
Perlite is the little white balls you may see in commercial potting mixes. It's a naturally-occurring puffed volcanic glass which helps provide aeration and break up dense soil mixed. I always cut my soil with this perlite by Espoma, which helps prevent root rot. For succulent plants, which require very well-draining soil, this is extra important. However, if you do not have perlite, you can still have success with standard succulent mix.
When placing your cutting on soil, you may either lay them directly on top of the soil or lightly cover just the tip of the leaf with a tiny bit of soil. Personally, I prefer to cover the tips.
You can use any sort of container for this step. Obviously containers with drainage are always better, but since you will not be wetting the soil very much yet it is less important right now. I use old candle holders which I have cleaned out until the root system becomes more developed. You can also use a Tupperware container, mug, or, of course, a proper planter.

Step 3: Give your cuttings bright light
Place your leaf tray in a location with bright light. Direct sun is okay, as long as the mother plant was adjusted to direct sun. Typically, I put my succulent propagation right next to the mother plant to keep the conditions consistent.

Step 4: Wait for rooting
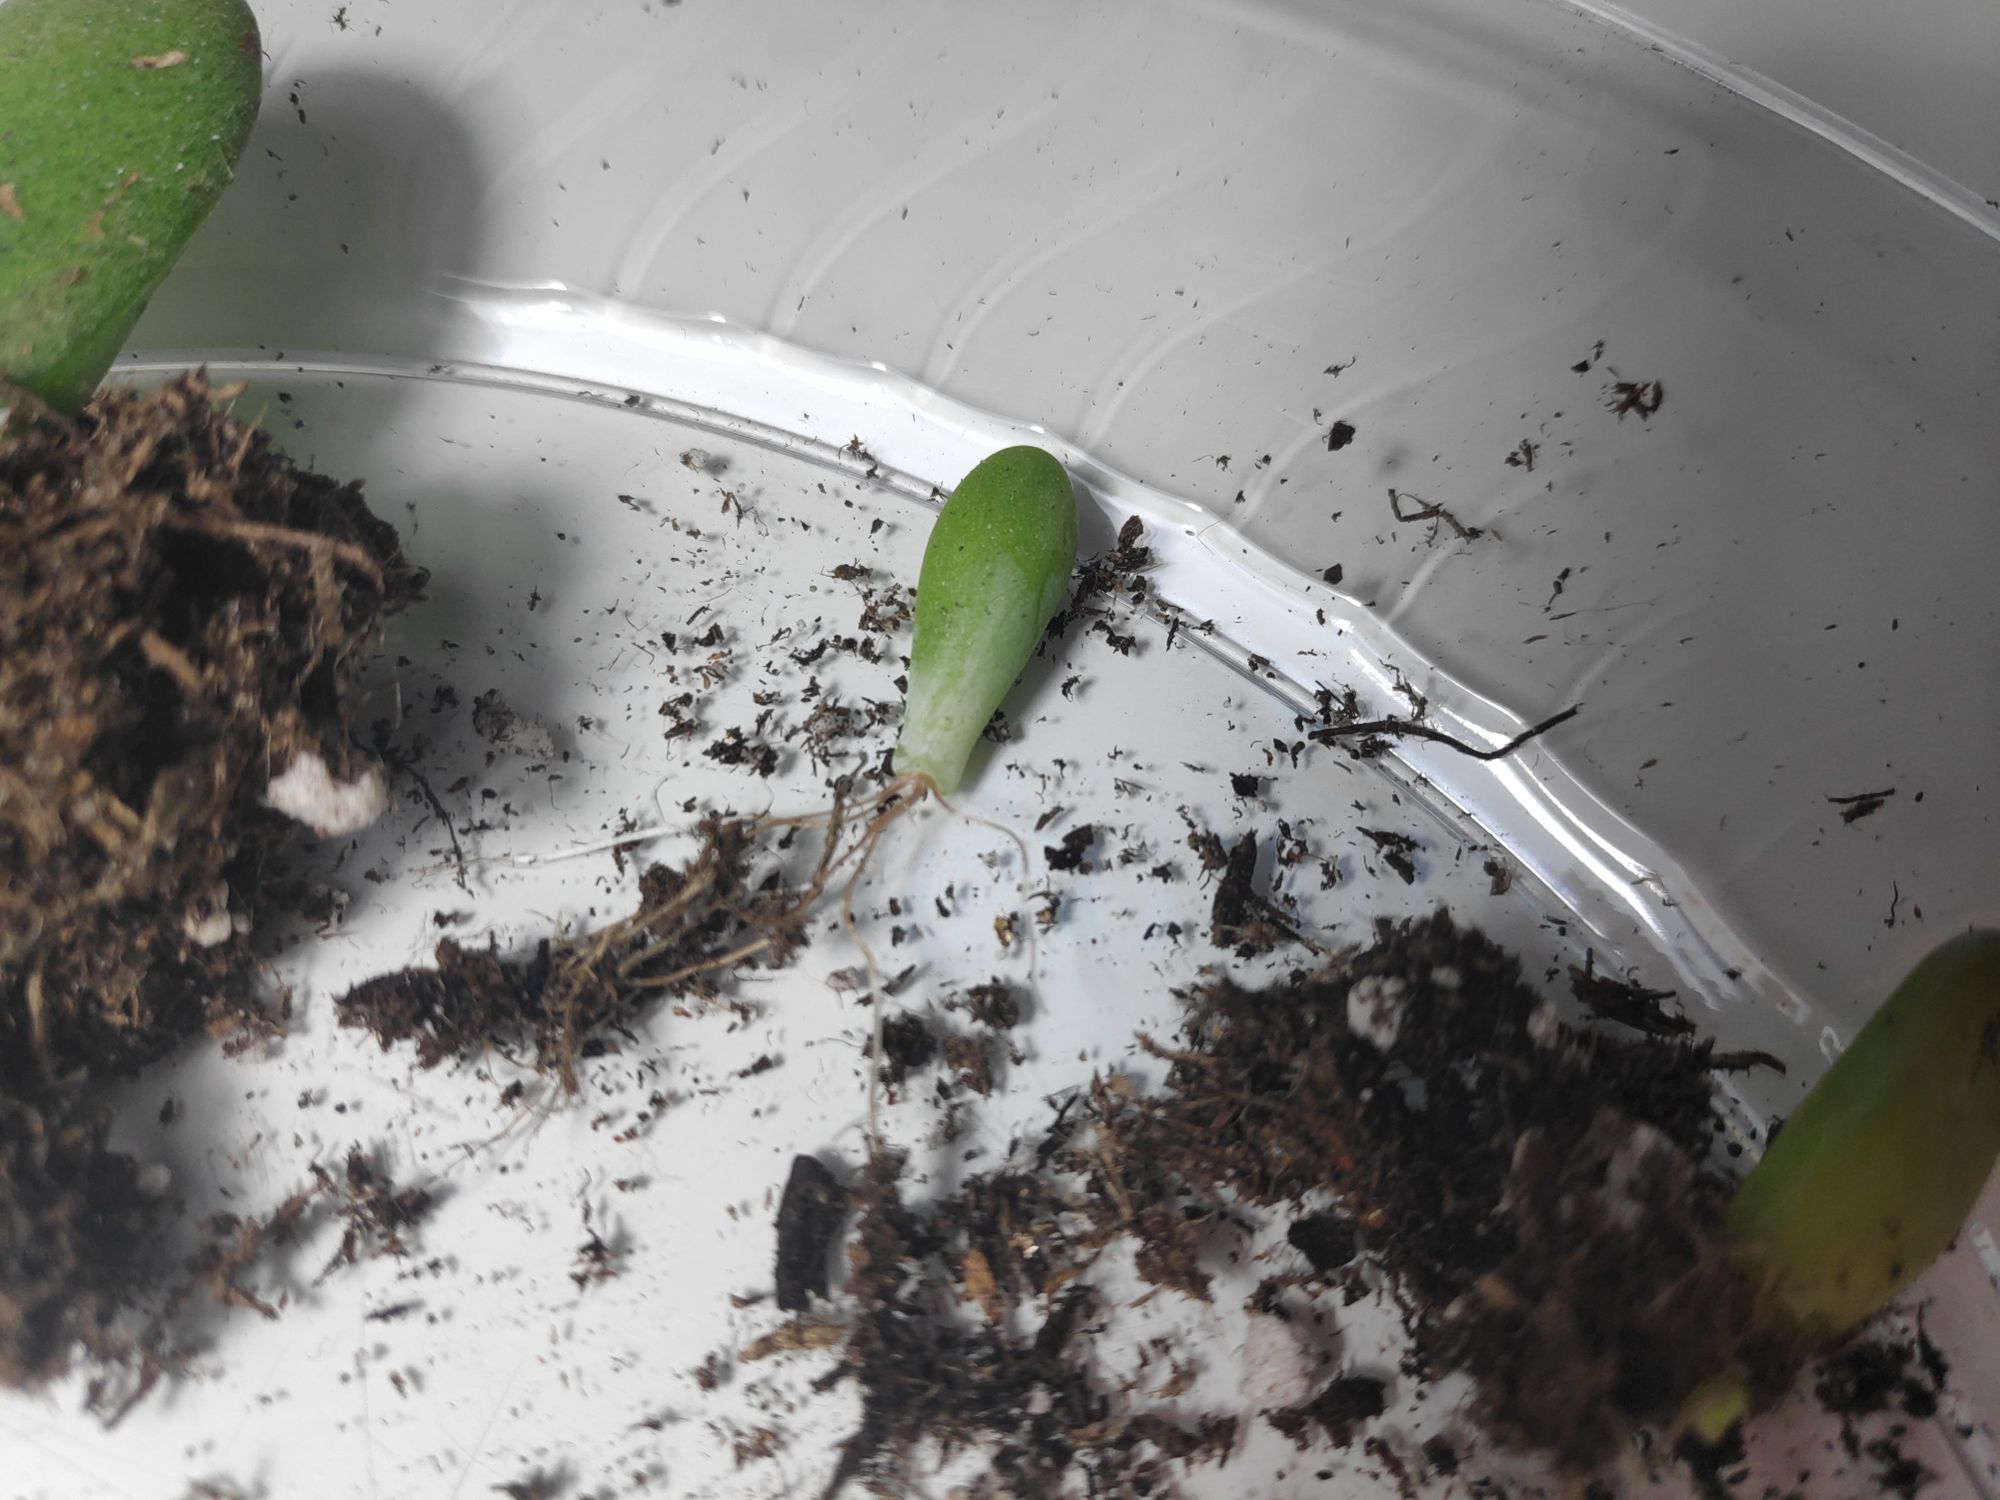
After you have placed your cuttings in the sun, the next step is simply to wait for them to start to take root. Do not water your cuttings until roots start to form, or else you may risk rotting the cuttings!
You may be able to see the roots forming on the leaf if you did not cover it in soil, however, if you did, you may need to push back the soil to tell if the cutting is rooting.
Not all cuttings will always root at the same speed, so if one cutting takes and another does not show progress yet, do not give up on it! It may still root later on.

Step 5: Water cuttings
A common misconception is that succulents do not need water. They do! However, you do not want to soak the soil, allow the soil to sit in a damp condition, or water right away. As mentioned above, wait until you see signs of rooting before you start to provide any water.
Once roots are beginning to establish, start providing very small amounts of water. Never provide enough water that the soil becomes soaked to the bottom - there is no need! Your roots aren't that big yet and won't be able to absorb it! This will only lead to water.
Personally, I water rooted succulent cuttings by putting a mister right up to the soil, and providing two pumps of concentrated mist per rooted cutting directly where the roots are. You do not need to wet the entire area of the soil, only put a bit of water to the roots. If there are cuttings in your tray that are not rooted yet, skip them.

Step 6: Watch baby plants grow!
As your succulent cuttings continue to root, you will start to see new growth coming out of the base of the plant. New succulents grow slowly, but watching them create a whole new plant just from the energy provided in one leaf is very rewarding.
Once your plants are large enough to require separation, re-pot each new plant in a terracotta pot with a drainage hole and well-draining soil.
Enjoy your new succulent plants!

